Invitations
How do I invite attendees to my event?
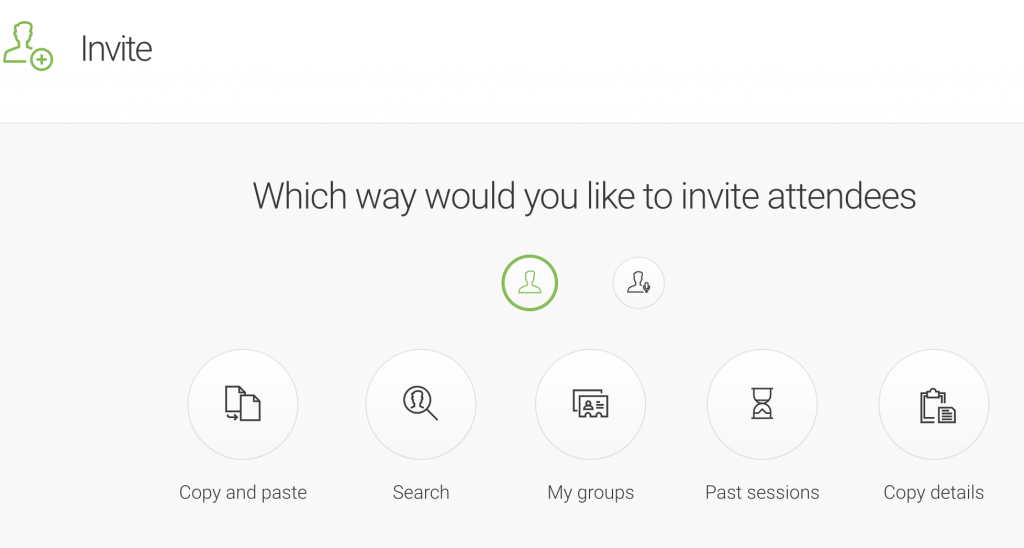
If the event hasn’t started yet, you can invite attendees in the Dashboard tab by clicking Actions → Invite beside the event name.
Next, choose Attendees. Copy and paste email addresses: add them one at a time or select them from your address book or contact groups.

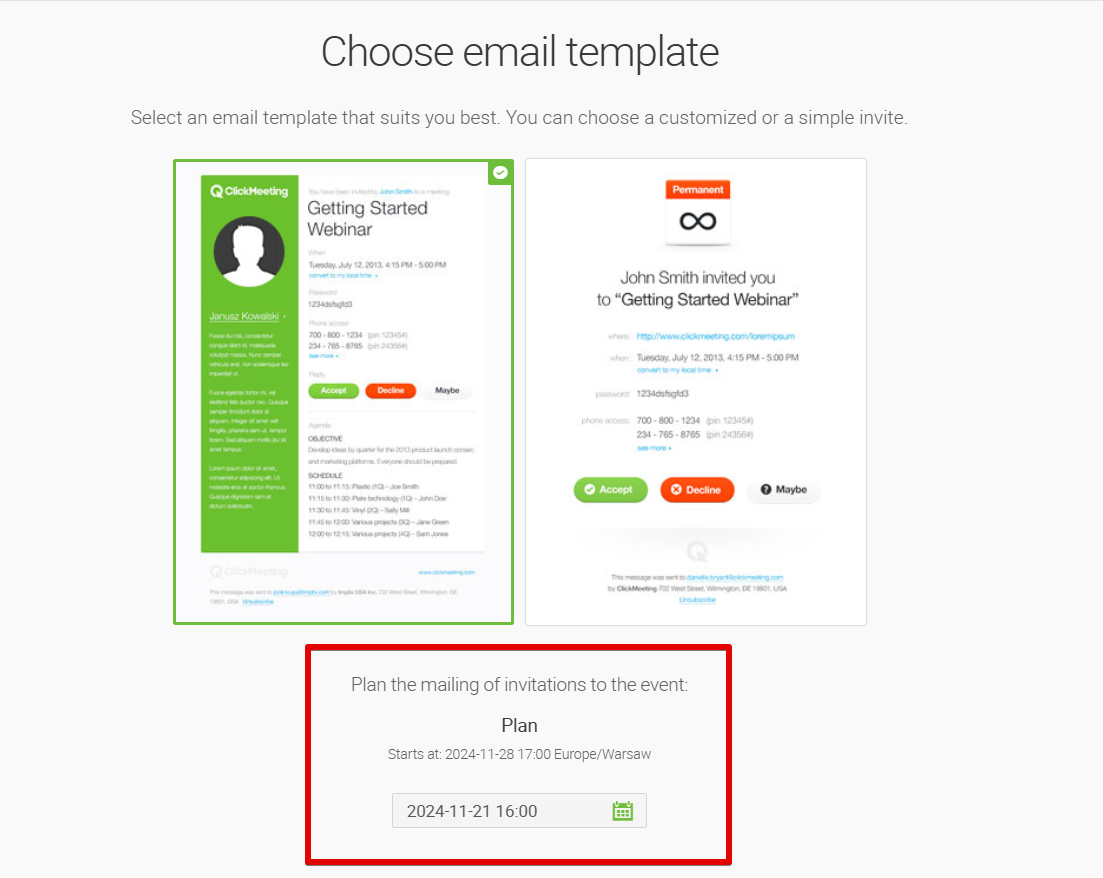
Once you have entered your participants’ details, you will move on to selecting an invitation template. The template on the left allows you to send an edited invitation (here you can check how to edit it) and the template on the right a default invitation. Under the templates you will find the option to schedule the mailing of the invitations. It allows you to set a specific date and time for sending invitations to selected email addresses.
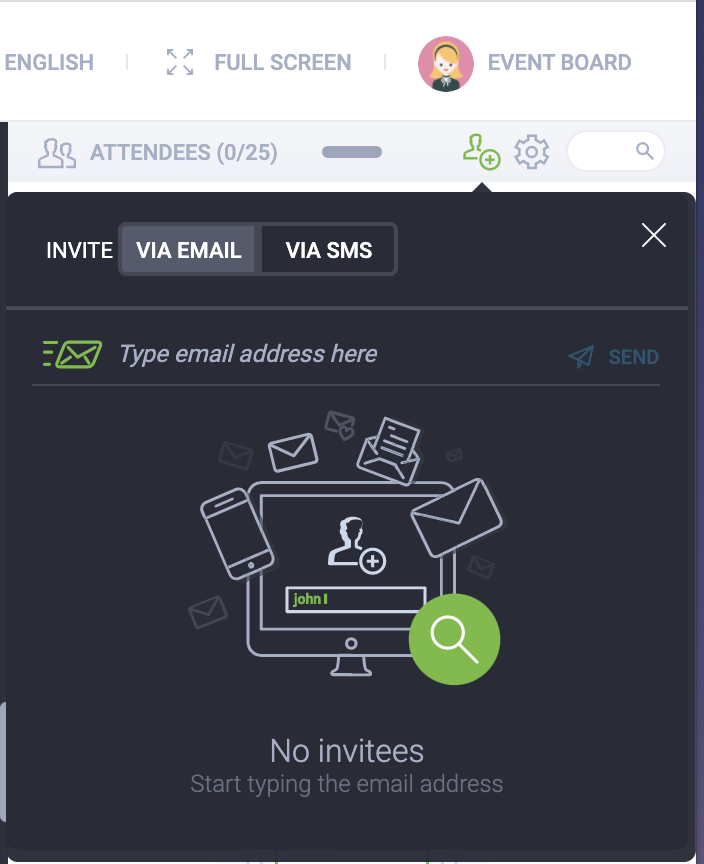
If the event is already running, invite attendees by clicking the Invite button on the Attendee List pod in your webinar room.

If you send Outlook invitations to your ClickMeeting events, the ClickMeeting plugin for Outlook is worth checking out! It allows you to schedule meetings and invite participants directly in Outlook with just a few clicks. Watch this quick tutorial to learn how to install and use the plugin. We will show you the steps to schedule a meeting and invite participants directly in Outlook.
Please note that you can invite up to 4 times as many people as the number of attendees in your plan. We do not recommend exceeding this limit.
How do I re-send an invitation?
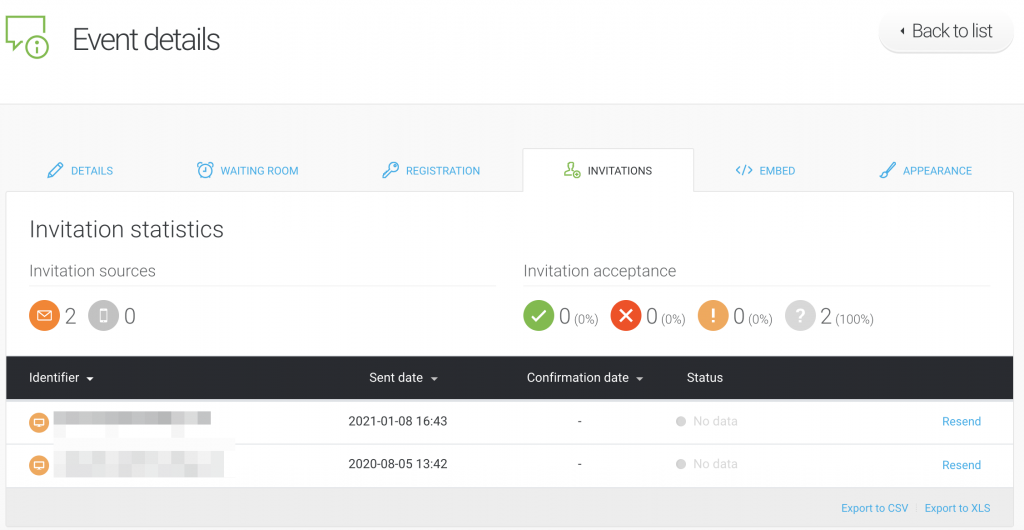
To the right of the room name in the Schedule tab, go to Actions, choose Details, go to the Invitation tab, and click Re-send beside the invitee(s) name(s).

Any time you edit an event, the system prompts you with the option of re-sending the invitation.
What does the ClickMeeting plugin for Outlook do?
The ClickMeeting plugin for Outlook allows you to schedule ClickMeeting events directly in Outlook with just a few clicks! No more copying and pasting the event details to your email and checking if the invitation is complete.
Please note that the plugin enables you to schedule only meetings (scheduling webinars is not possible).
The integration is here to facilitate the invitation process for companies that use ClickMeeting internally or invite people from outside (e.g. for recruitment or consultation purposes) using Outlook.
The plugin is supported in both the Outlook desktop app and the Outlook Web version. The data is synchronized across the calendars.


