Account setup
Two-factor authentication (2FA)
You can enable 2FA/two-factor authentication in the Account settings.
When enabled, you will see an additional screen with an option to enter a 6-digit authorisation code when logging into your account panel. The code is sent to the email address associated with your ClickMeeting account.
If the code is not delivered or expires, you can resend it yourself.
Important information about 2FA:
- The code is valid for 180 seconds.
- The Resend option can be used every 30 seconds.
- 2FA is disabled by default in your account and must be enabled in the Account Settings tab.
Can I customize emails sent from ClickMeeting?
To customize the email template, log in to your account and hover over your profile photo in the top-right corner of the account panel.

Then select Appearance settings and go to the Email tab.
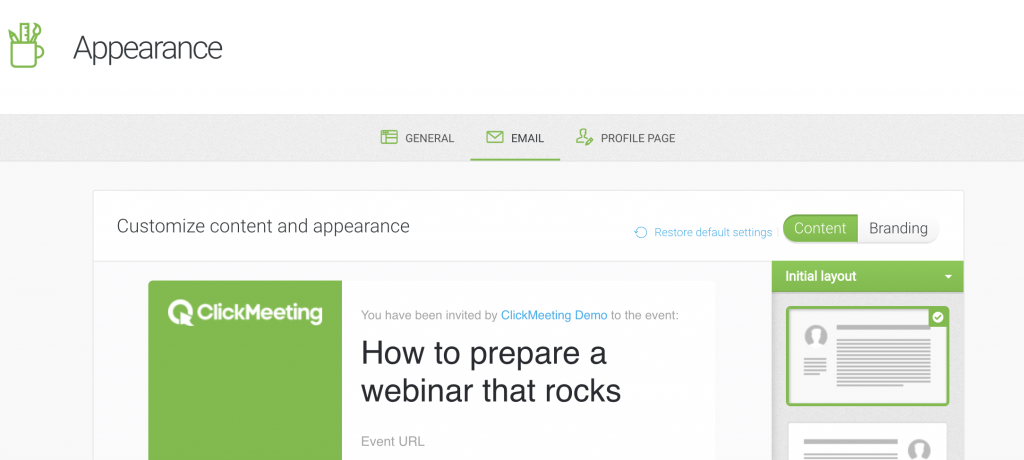
In this section, you can choose the initial layout of the emails that will be sent from ClickMeeting. Choose the order of the elements by dragging and dropping them in place, and decide which elements you would like to delete or add to all future messages.
Decide if you want your attendees to see available phone numbers, presenter info, agenda, download/accept/decline buttons, logo, or room ID. Make your messages even more advanced by adding images, texts, or links.
A little pencil icon available on some of the elements enables you to edit the content of the section. Simply mark or unmark the options, provide descriptions wherever needed, and make your future messages more personal.
How can I change my email signature?
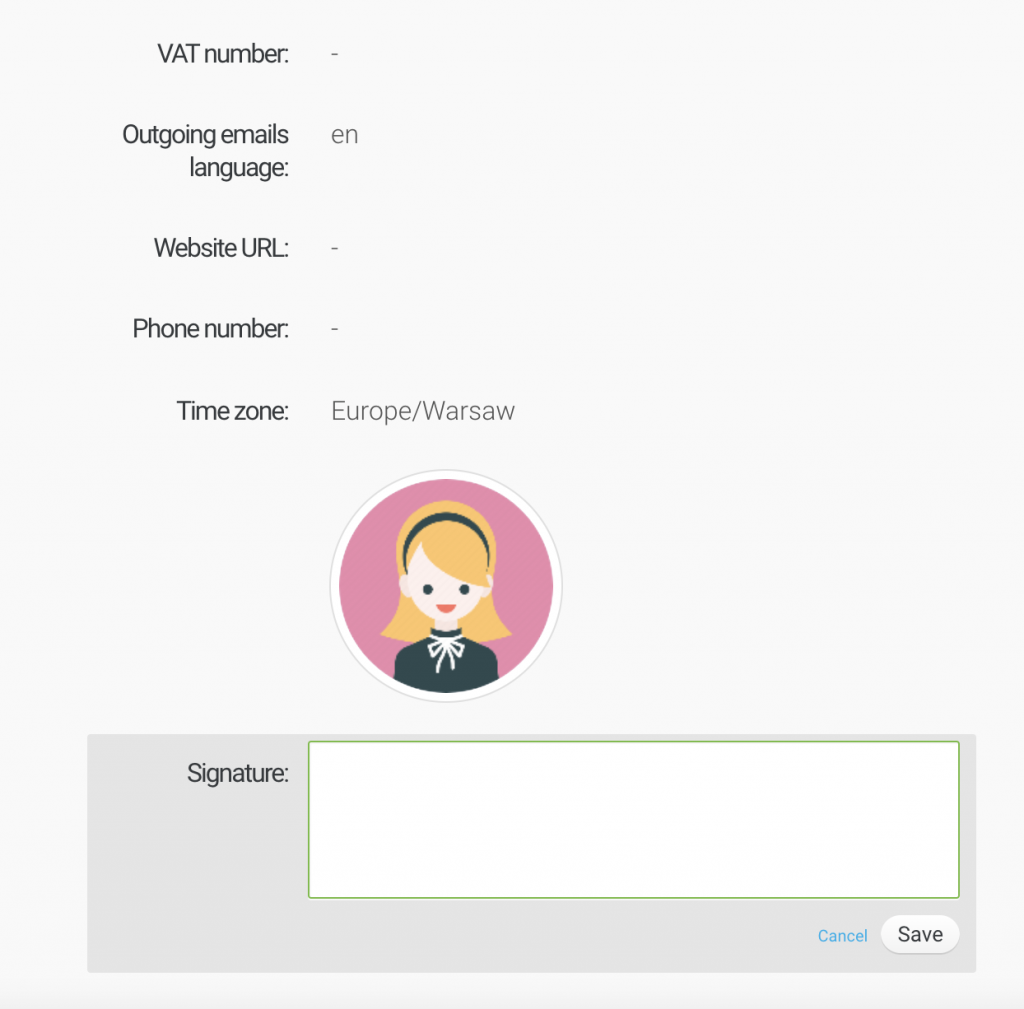
Log in to your account and hover over your profile photo in the top-right corner of the account panel. Choose Account settings from the drop-down menu. Proceed to the Personal details section and scroll down the page.
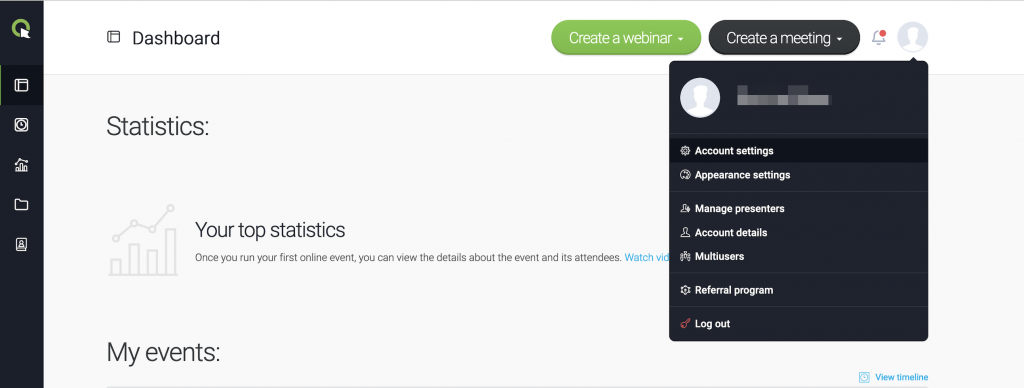
Next, click on the Signature option and enter your signature. Remember to save the changes. To see what your signature looks like, create a test event and send yourself a test invitation. You can also proceed to Appearance settings to view and manage your emails appearance.
A signature allows you to leave your first and last name and other details in every email sent to your attendees. That way, you can personalize the content even more and make sure your attendees recognize your company, product, or service.
How can I change my username?
You can change your username free of charge once a day. To do so, log in to your account, hover over your profile photo in the top right corner and go to Account Settings. Hover over your existing username, click Edit, then enter a new username and click Save. Keep in mind that changing your username will affect all of your existing event URLs, so you will need to resend invitations for your upcoming events.
Please note that free trial users cannot change their username. If you would need to change the username of your free trial account please contact our Support Team via email.
How can I change my account email address?
You can change your primary account email address by contacting our Customer Support Department via email or chat. In order to ensure the fastest possible service, please include your current email address, new email address, and the last 4 digits of the card used for payment or the number and amount of your last invoice for account verification in your message.
You can change your billing email address yourself in the Account Settings tab. This is the email address to which all messages related to billing for your account on our platform will be sent.
If you only want to change the sender address and keep the current main email address for your account, you can use the multi-login option.
Multi-login allows you to select the sender address from the Account Settings.
Click on your username in the top right corner -> account settings -> advanced settings -> sender address.
Related materials