Automated webinars
What is the Automated Webinar and how does it differ from the On-Demand Webinar?
The Automated Webinar is an event, which is scheduled to start and run automatically at a particular time with or without you or your presenter being present. You, as the host, can decide what components you would like to present during the webinar – pre-recorded video, presentation or 3rd party program recordings, pre-prepared Call-To-Action button, or survey.

Please note that attendees would want to join your Automated Webinar at the specified time so that they do not miss the beginning of your event.
The On-Demand Webinar is a form of a pre-recorded webinar, that will enable your attendees to join the event whenever and wherever they want. After recording your webinar, you can send it to your participants, and they will have unlimited access to your event.
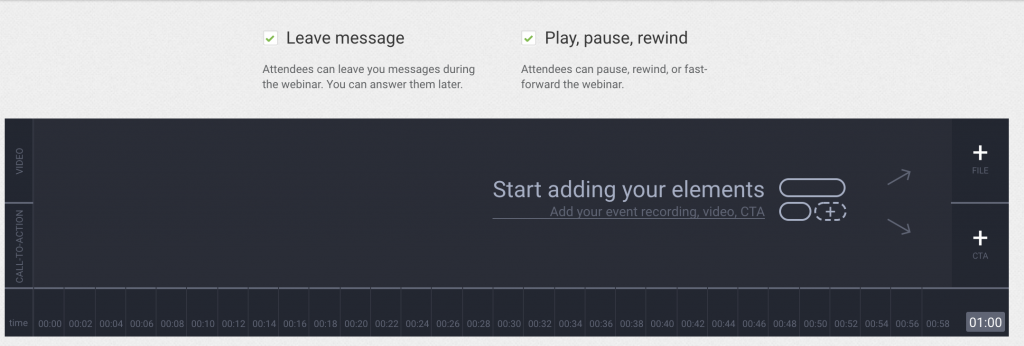
How do I manage the Automated Webinar Timeline?
The Automated Webinar Timeline is divided into two horizontal sections. With this tool you can easily arrange:
- the sequence of the files, and
- the time when they should be displayed during the webinar.
The uploaded sections will be available as colorful buttons on the Automated Webinar Timeline. You can easily manage those buttons.
- You can drag and drop them wherever you want them to be in the webinar.
- You can decide how long they are by clicking on them and dragging them left or right to make them longer or shorter.
A pop-up window will also be displayed after adding each component where you can manually set up the display length of each section. If you decide not to show a particular section, you can delete it.
Please note that you can manage the Call-To-Action button and display it at any time (before, after, or in the middle of any other component).
Remember to save the adjustments when you are finished setting up your Automated Webinar. For visual representation see our video tutorial.
When scheduling video files to run during your automated webinars, we strongly suggest that you add a few seconds to the end of the videos. This will act as a buffer against the slow Internet connection experienced by some attendees, with videos taking longer to load on their end.
Additionally, doing so will allow you to take control over the event, e.g. if you would like to hold a live Q&A session after the automated webinar.
In which plans are Automated Webinars available?
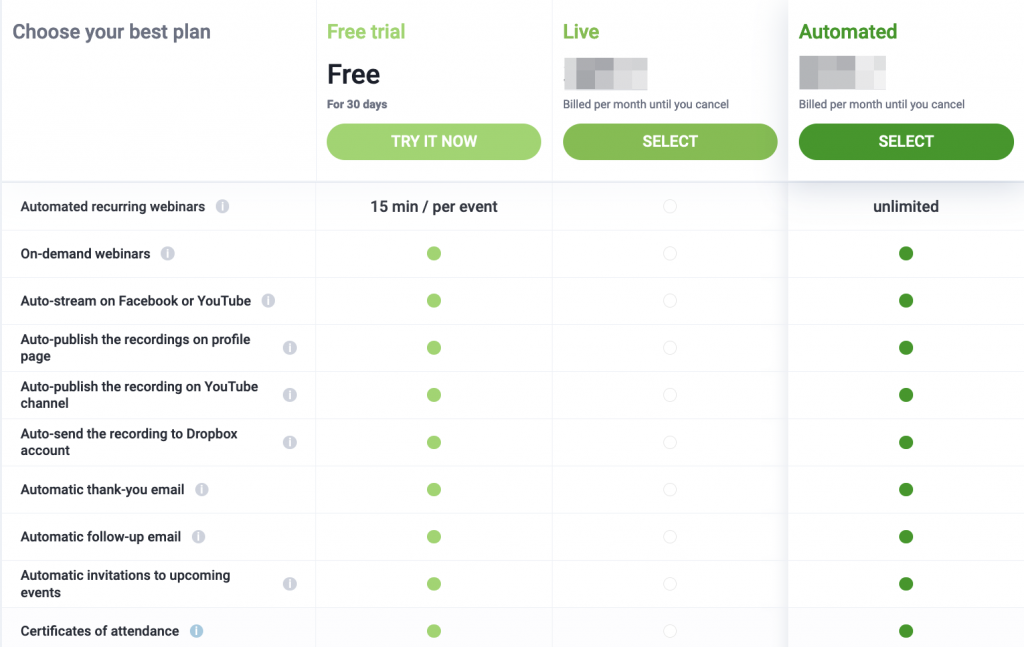
The Automated Webinar feature is available in the Automated plan and free trials.
In the free trial accounts, the maximum length of an Automated Webinar is limited to 15 minutes.
Can I set up the Automated Webinar as a paid event?
Yes, of course! You can set up the Automated Webinar as a paid event and charge the participants for attendance at your event.
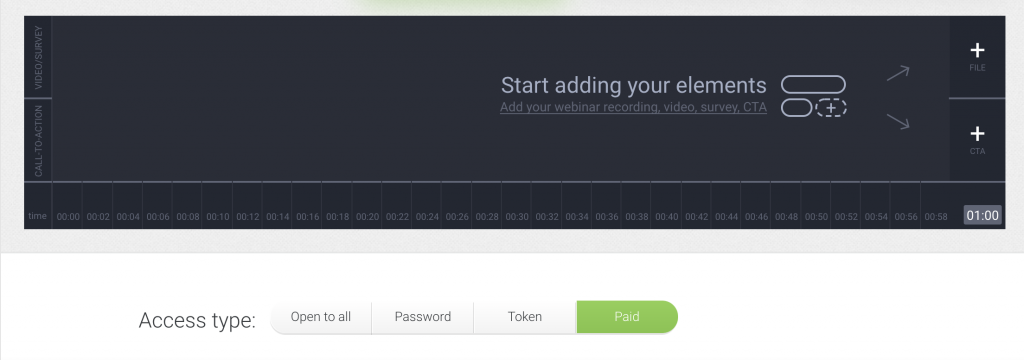
Please refer to this video tutorial to show you how!
Can I run more than one Automated Webinar at the same time?
You can host only one event at a time no matter what type of webinar it is.
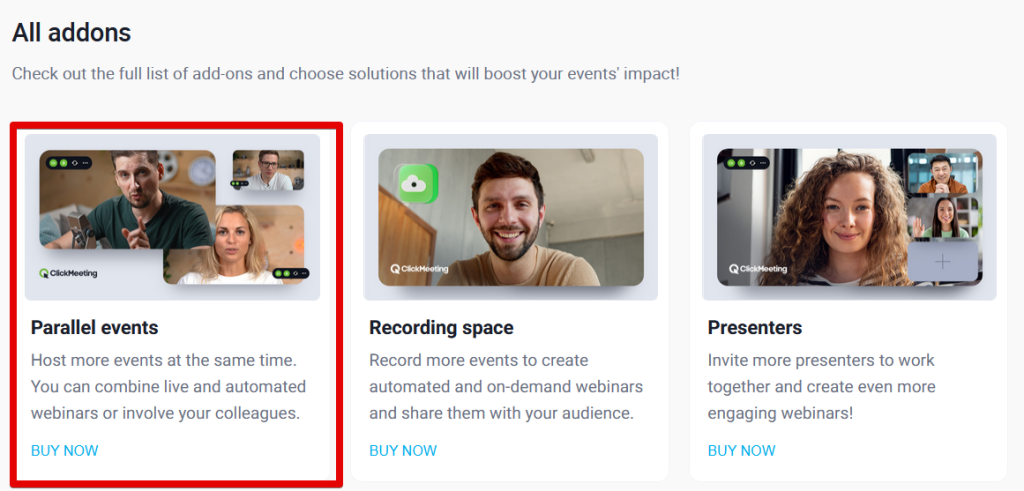
If you already have the paid account, you can purchase a Parallel Event Add-On to be able to host simultaneous sessions.
What file extensions can I upload to my Automated Webinar Timeline?
The files which can be converted for Automated Webinars are: avi, mov, wmv, mpg, mp4, mp3, png, and jpg.
You can also use pre-recorded videos, presentations or 3rd party program recordings.
Can I enable chat during an Automated Webinar and get the chat logs after it ends?
You can choose from 3 different chat settings for your automated webinar while scheduling an event:
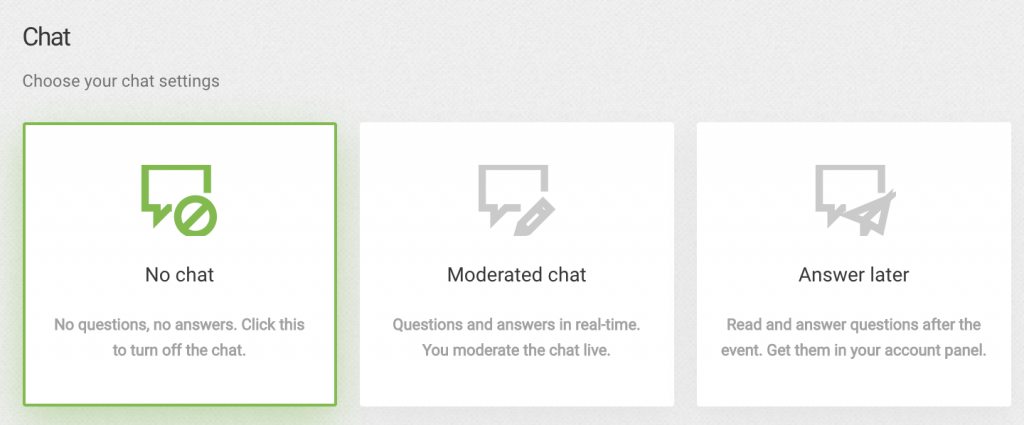
1. No chat – attendees will not be able to leave feedback or comments, and no chat logs will be generated after the event.
2. Moderated chat – attendees will be able to use the chat during the event, but all their messages need to be moderated. You would have to join the webinar yourself or assign this task to an invited presenter to manage the chat and reply to messages.
3. Answer later – attendees can leave their feedback or comments, the chat logs will be generated after the webinar ends.
After the event you can read their messages in your account panel under Storage → Chat and Q&A logs tab.
